Kodi - Basic HTPC setup on Reycom rec100
Kodi on Reycom rec100 - Basic setup
Disclaimer
- These are just my own notes I made during a playing around setup while exploring the Reycom device - re-use the same at your own discretion and may be as a reference (no guarantees at all)
- Especially the Linux related sections represent a very minimalistic setup just to make it work
Requirements
- Reycom rec100
- USB pen drive (4GB or more)
- Kodibuntu ISO
- Mac or Linux machine (needed to create a bootable USB stick)
- USB keyboard + USB mouse
- Display or TV with an empty HDMI port
Preparation
Bootable USB Stick
Mac
- Download the latest version of Kodibuntu
- Open a new terminal
- Convert the downloaded image file to iso format
1
hdiutil convert -format UDRW -o ~/path/to/target.img ~/path/to/Kodibuntu.iso
- Attach the USB pen drive
- Find out the right disk and unmount
1
2
diskutil list
diskutil unmountDisk /dev/diskN
- Use disk doubler to write the iso to disk
1
sudo dd if=/path/to/Kodibuntu.img of=/dev/diskN bs=1m
- Remove the pen drive
Reycom Box
- Attach the USB keyboard and bootable USB pen drive to the Reycom Box
- Connect the Reycom box to the display or TV using the provided HDMI cable
Installation
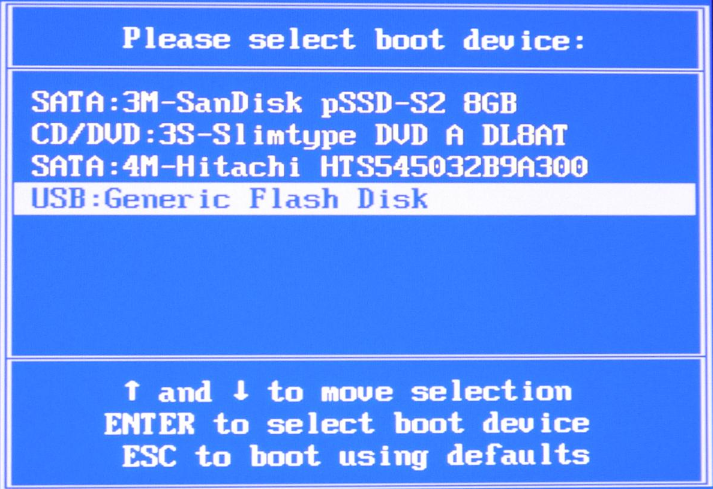
- Boot the Reycom box and hit the F11 key multiple times as soon as the Reycom brand logo appears
![]()
- Select the USB stick and hit Enter
- Follow the Ubuntu installer’s instructions, perform a regular installation selecting the smaller of the two builtin drives as the target volume (should be the SSD disk)
- The installation should be completed as soon as the installer prompts for a reboot (you may remove the USB pen drive and reboot)
- If the installation was successful, the Kodi UI should appear after reboot
Configuration
Kodi
Screen Calibration
- Navigate to Settings > System > Video Output
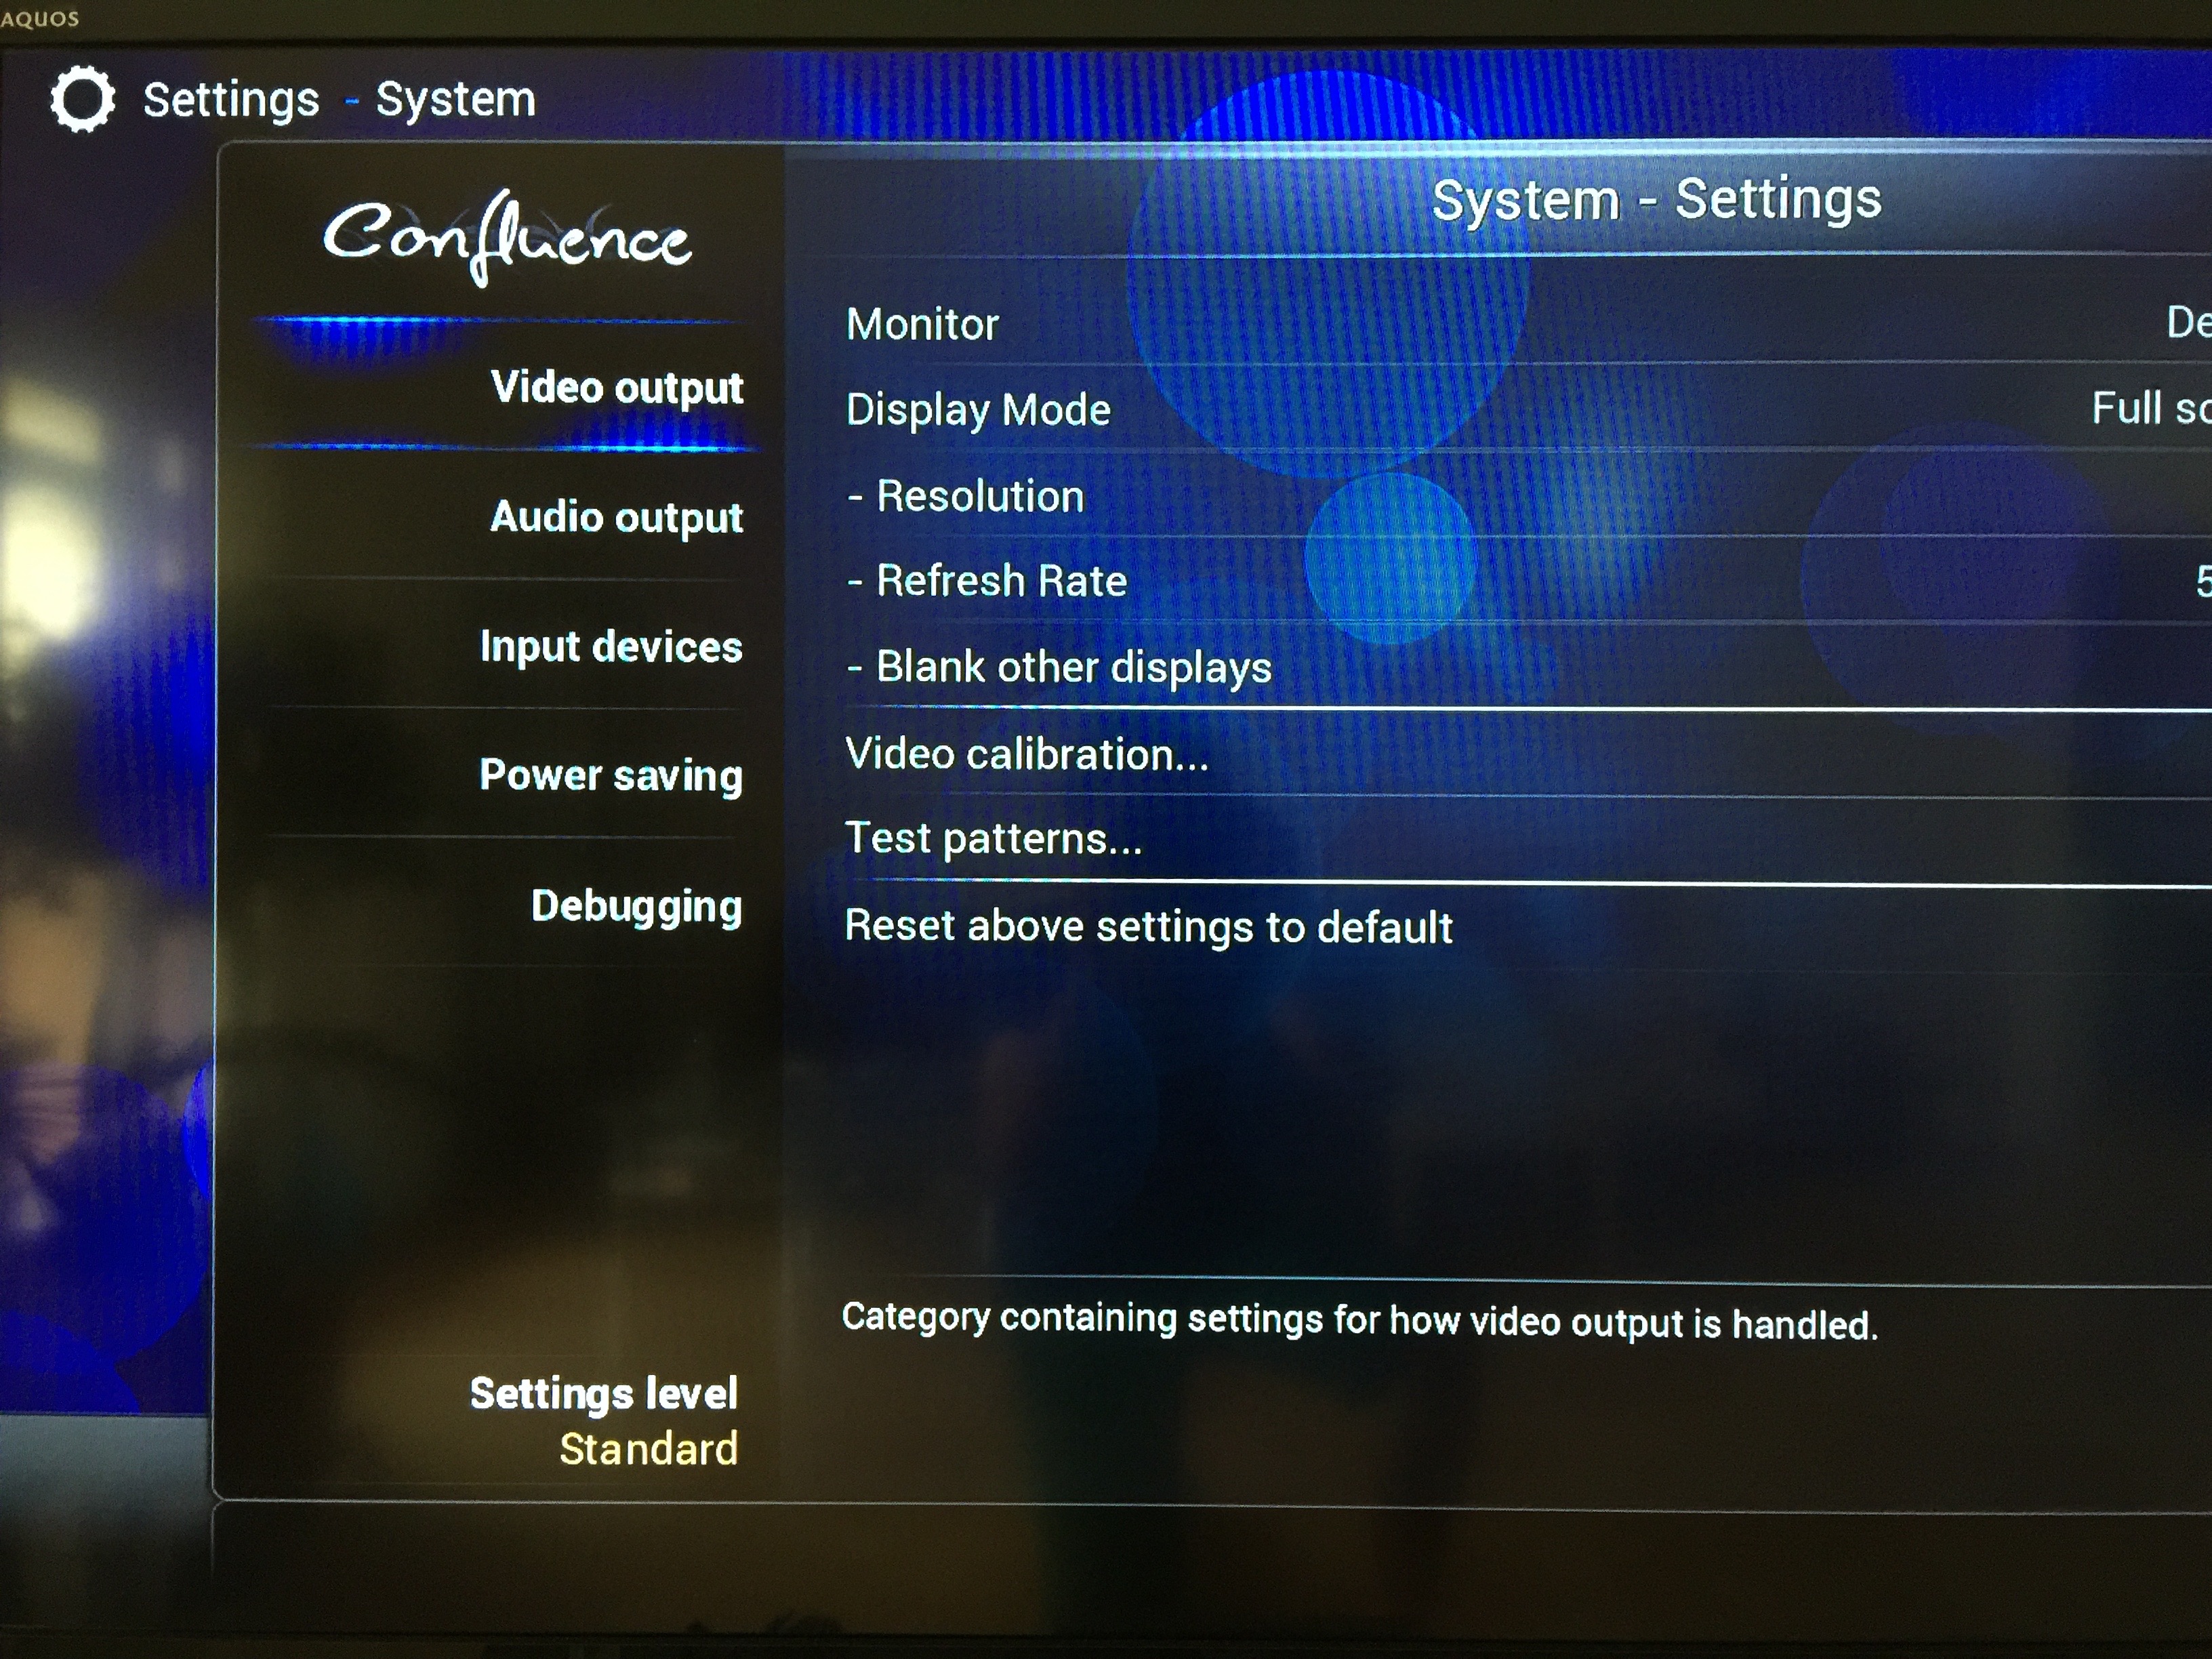
- Select Screen Calibration
- Use the mouse and point to the upper left corner bringing up a small marking where the same can be selected and dragged until the two lines become in line with the display border (see the next screenshot)
- Hit Enter
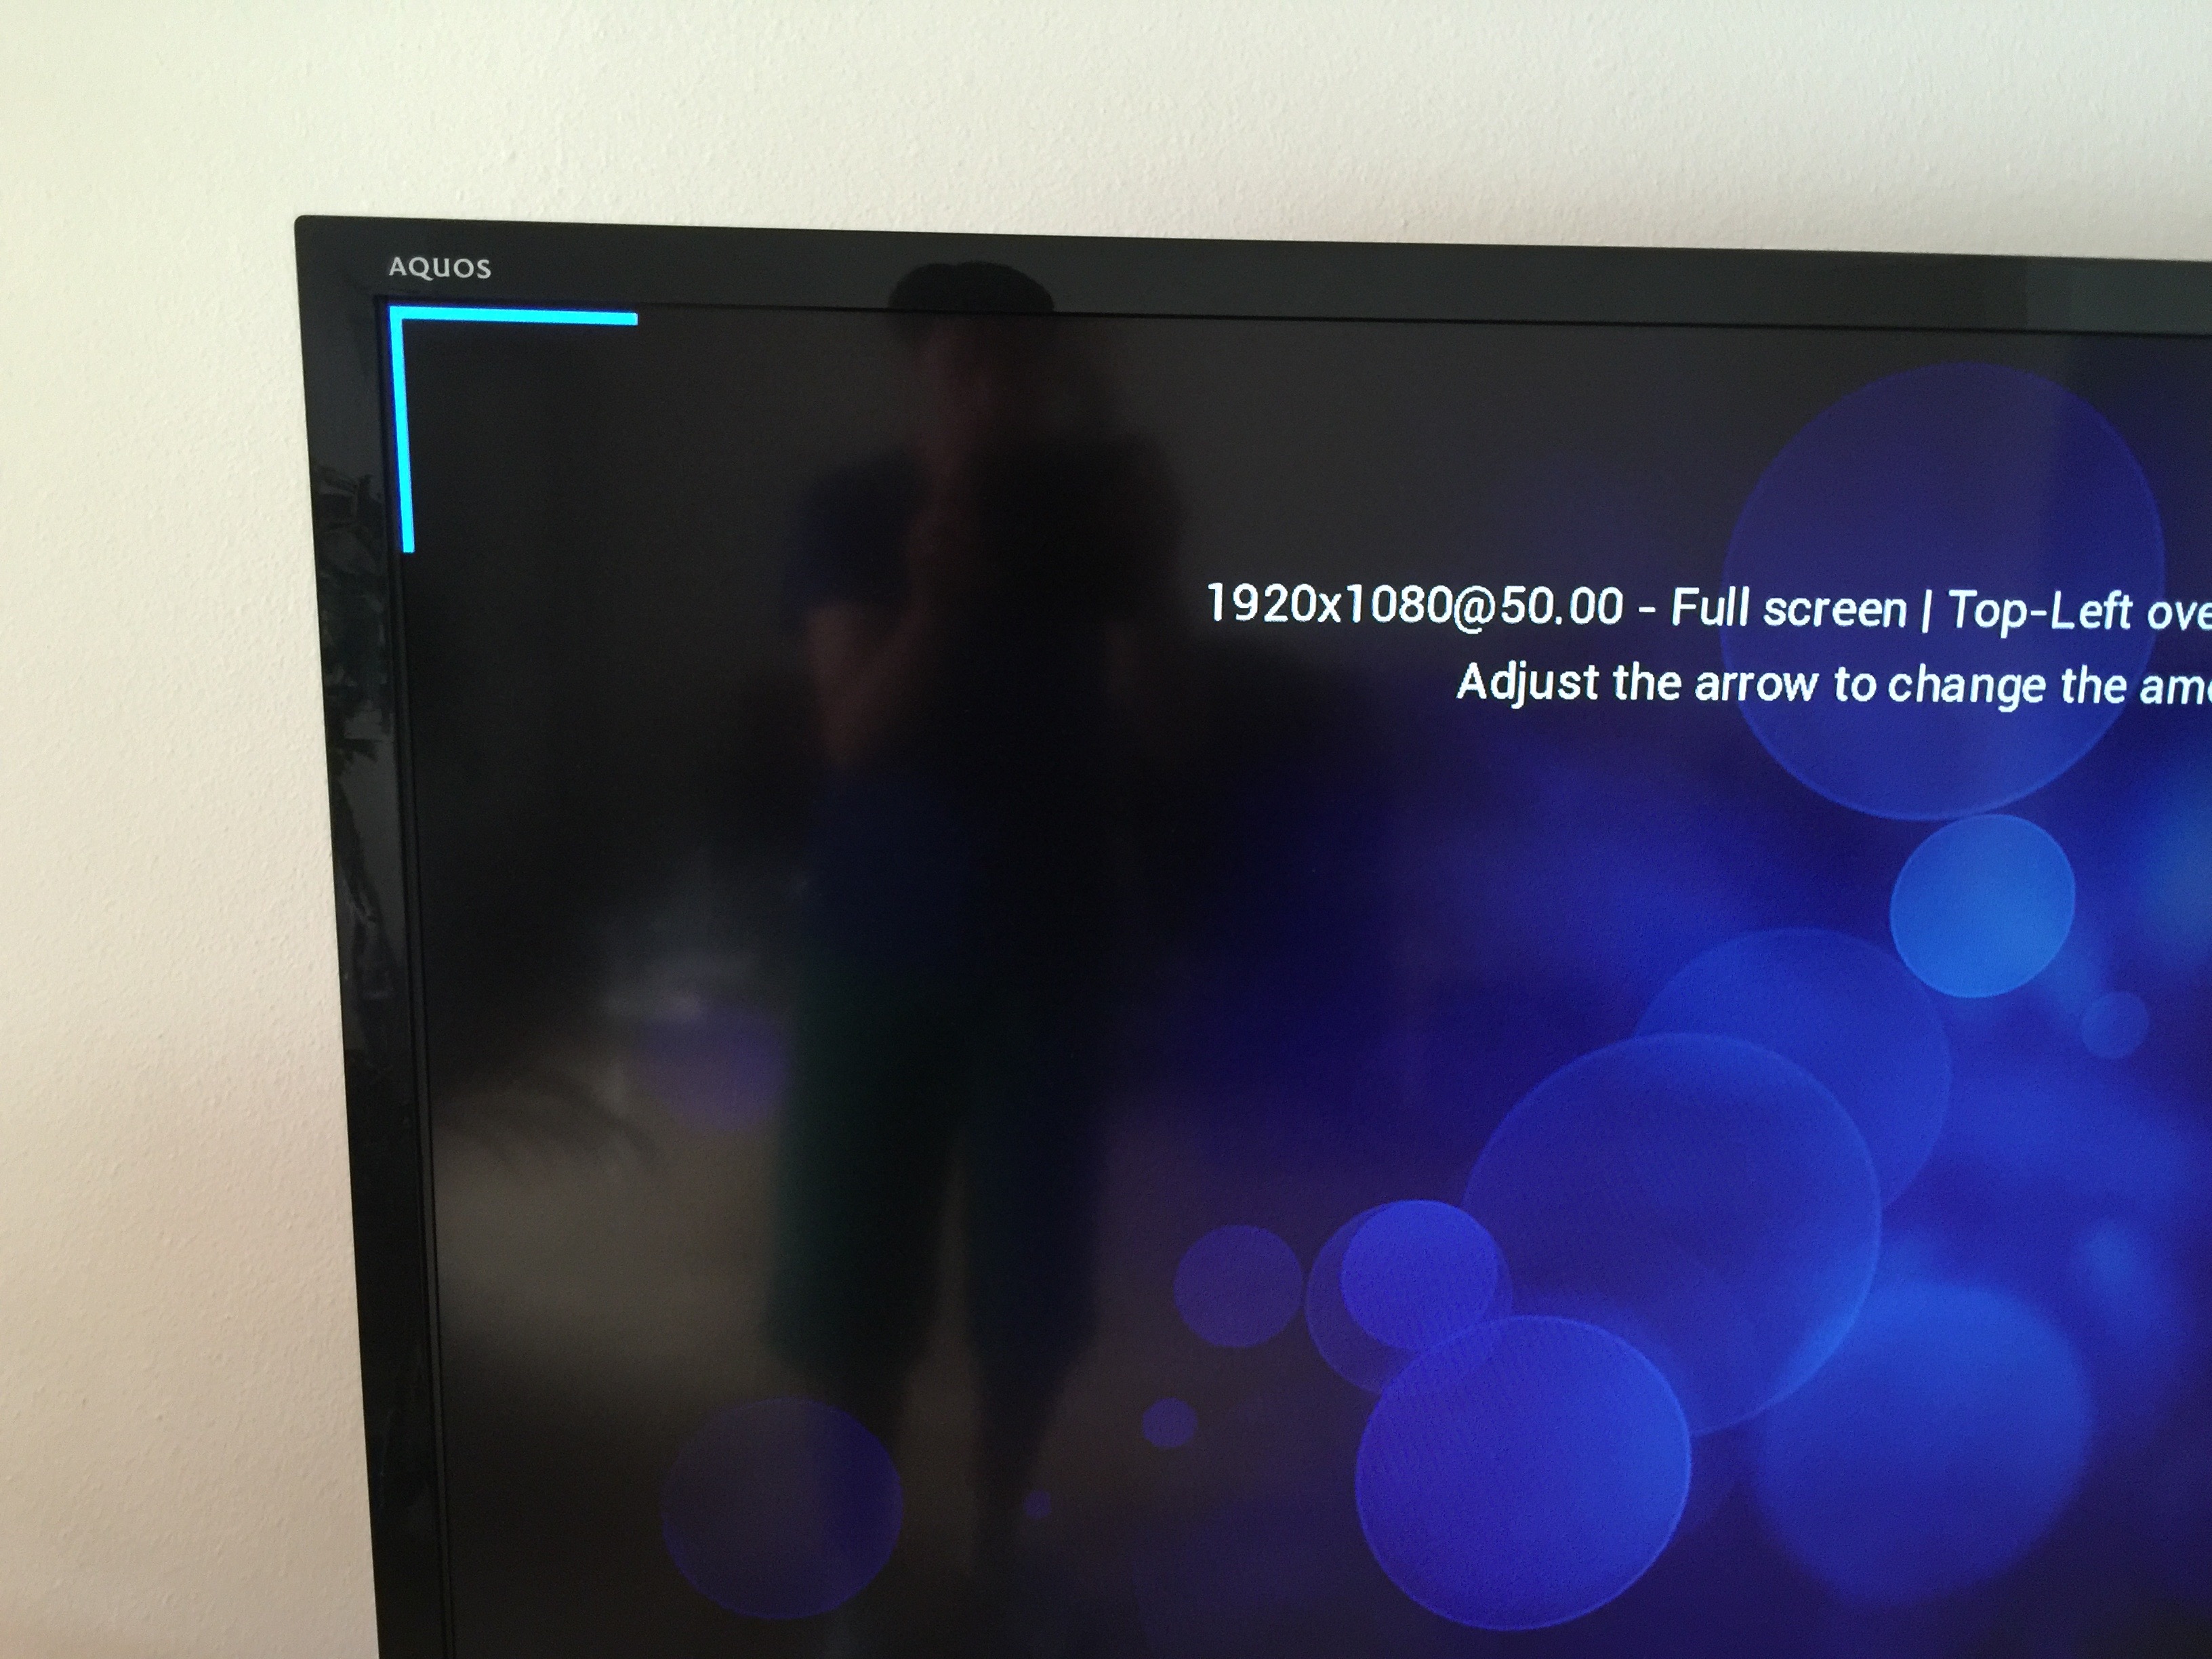
- Repeat the same step for the lower right corner and hit Enter
- Point the mouse cursor to the lower area of the display, more or less in the middle. Then as soon as a small line indicating the sub-title position appears drag the same (see next screenshot) and hit Enter
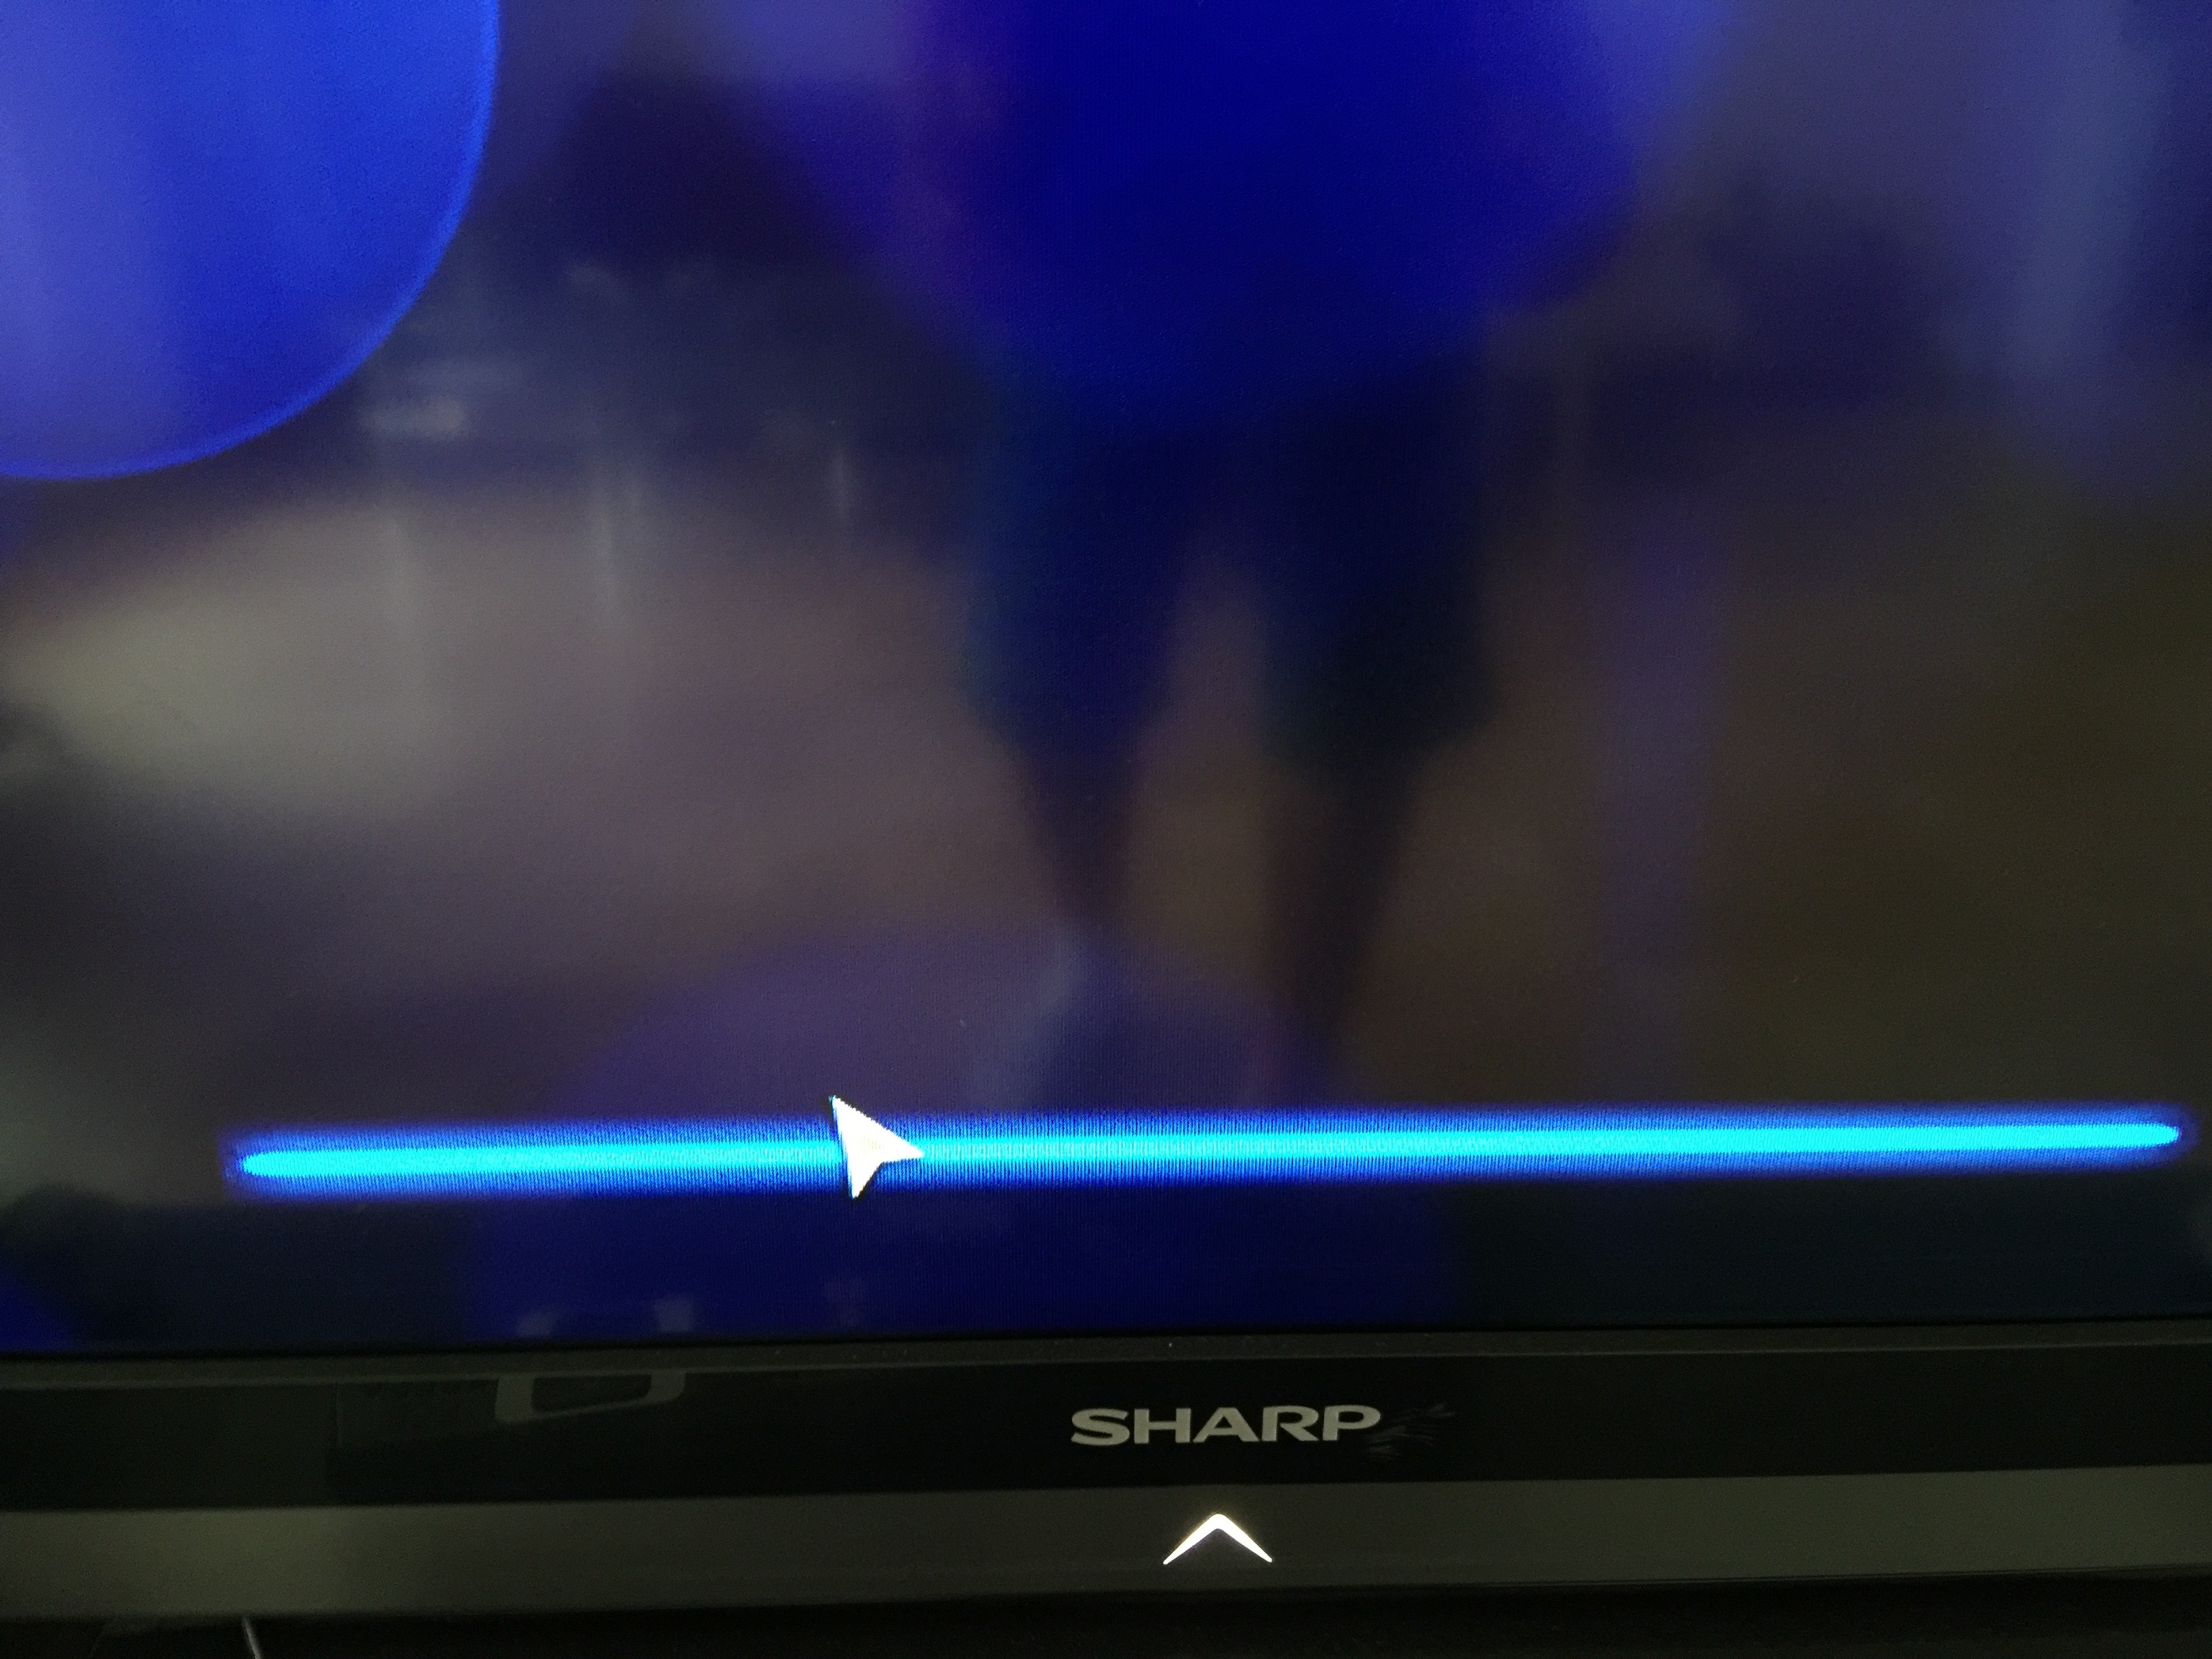
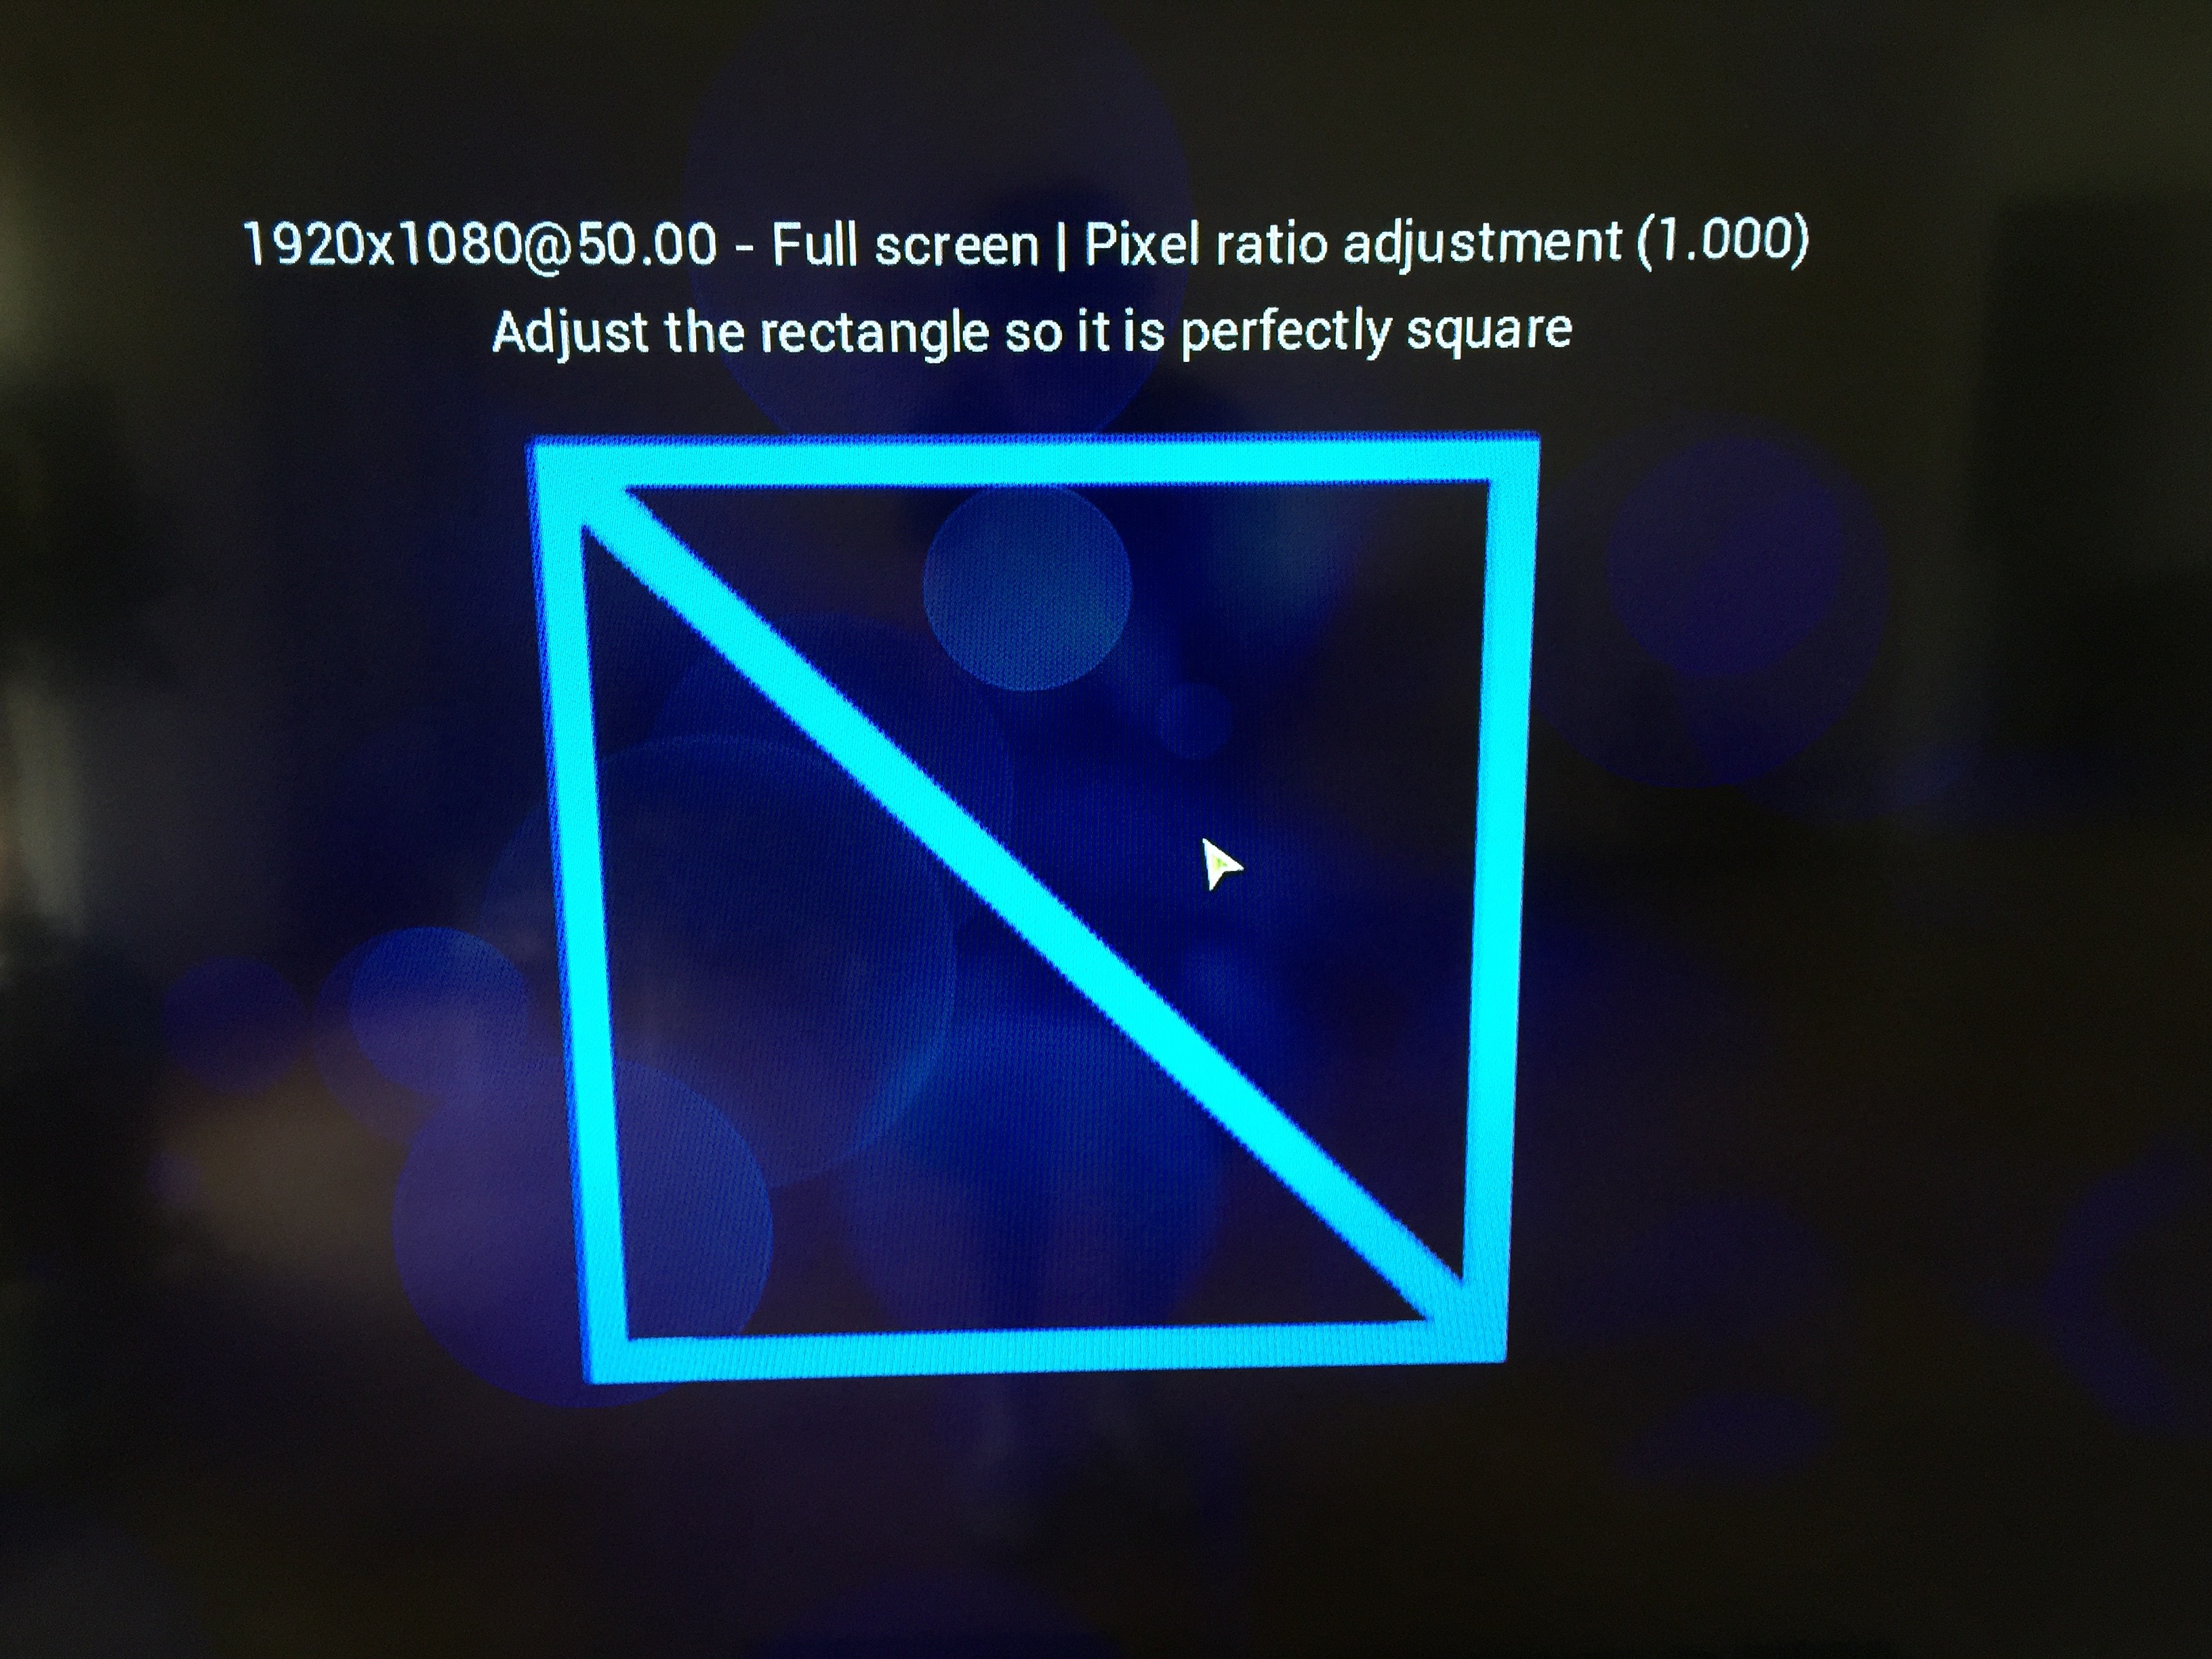
- To complete the calibration, adjust the rectangle the same way as before until the pixel ratio equals the one of the screenshot below (hit Enter to complete)
- Once the calibration is done, leave the settings area
Ubuntu
Terminal Login
- Press ctrl + alt + F1 in order to switch to the terminal
- Login and start hacking the system
Terminal Login
- Logout (ctrl + d)
- Press ctrl + alt + F7 in order to switch back to the Kodi UI
Sudo
- Log in to the terminal
- Add the current user to the sudoers group
1
usermod -aG sudo <username>
Static IP
Configuring a static IP can be helpful as soon as you plan to administrate the underlining Linux distro over SSH or less technical if Kodi should be controlled via the official Remote App.
- Log in to the terminal
- Open the interface configuration file
1
sudo nano /etc/network/interfaces
- Append the following configuration (adjust as needed)
1
2
3
4
5
6
auto eth0
iface eth0 inet static
        address 192.168.1.200
        netmask 255.255.255.0
        gateway 192.168.1.1
        dns-nameservers 192.168.1.1
- Restart the network service
1
sudo service networking restart
- Ensure the static IP configuration has been loaded by doing an ifconfig (had to reboot the system)
- Log out
Troubleshooting
Reycom Bios
General
- The default Bios password as given by the vendor is: cE6bS8
- Even if you try to change the Bios password it will be reset as soon as the Reycom box is being unplugged
OpenELEC
- In case you want to install the OpenELEC operation system as an alternative, be advised that the same might not boot after being installed due to a missing Graphics driver